


This tutorial teaches reliable, low-tech navigation. You'll learn how to use a compass and paper map, correct for magnetic declination, triangulate your position, and find north from the sun and stars. These skills work anywhere — no batteries required.

1) Compass Basics
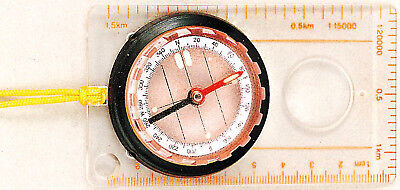
- Parts: Baseplate, direction-of-travel arrow, rotating bezel, index line, magnetic needle (red points to magnetic north).
- To take a bearing:
- Point the direction-of-travel arrow at your target.
- Rotate the bezel until the orienting lines align with the needle ("red in the shed").
- Read the number at the index line — that’s your bearing (°).
- Follow a bearing: Turn until the needle aligns with the orienting arrow again, then walk along the direction-of-travel arrow. Pick distant features to reduce drift.
- Magnetic declination: The angle between magnetic north and true north. Adjust your bearing by local declination.
- Egypt (Cairo, 2025): approx +3°E (check current value).
- Rule of thumb: True = Magnetic + Easterly declination; True = Magnetic − Westerly declination.
- Use NOAA’s calculator to confirm: https://www.ngdc.noaa.gov/geomag/calculators/magcalc.shtml
🧭 Compass Reading Demonstration
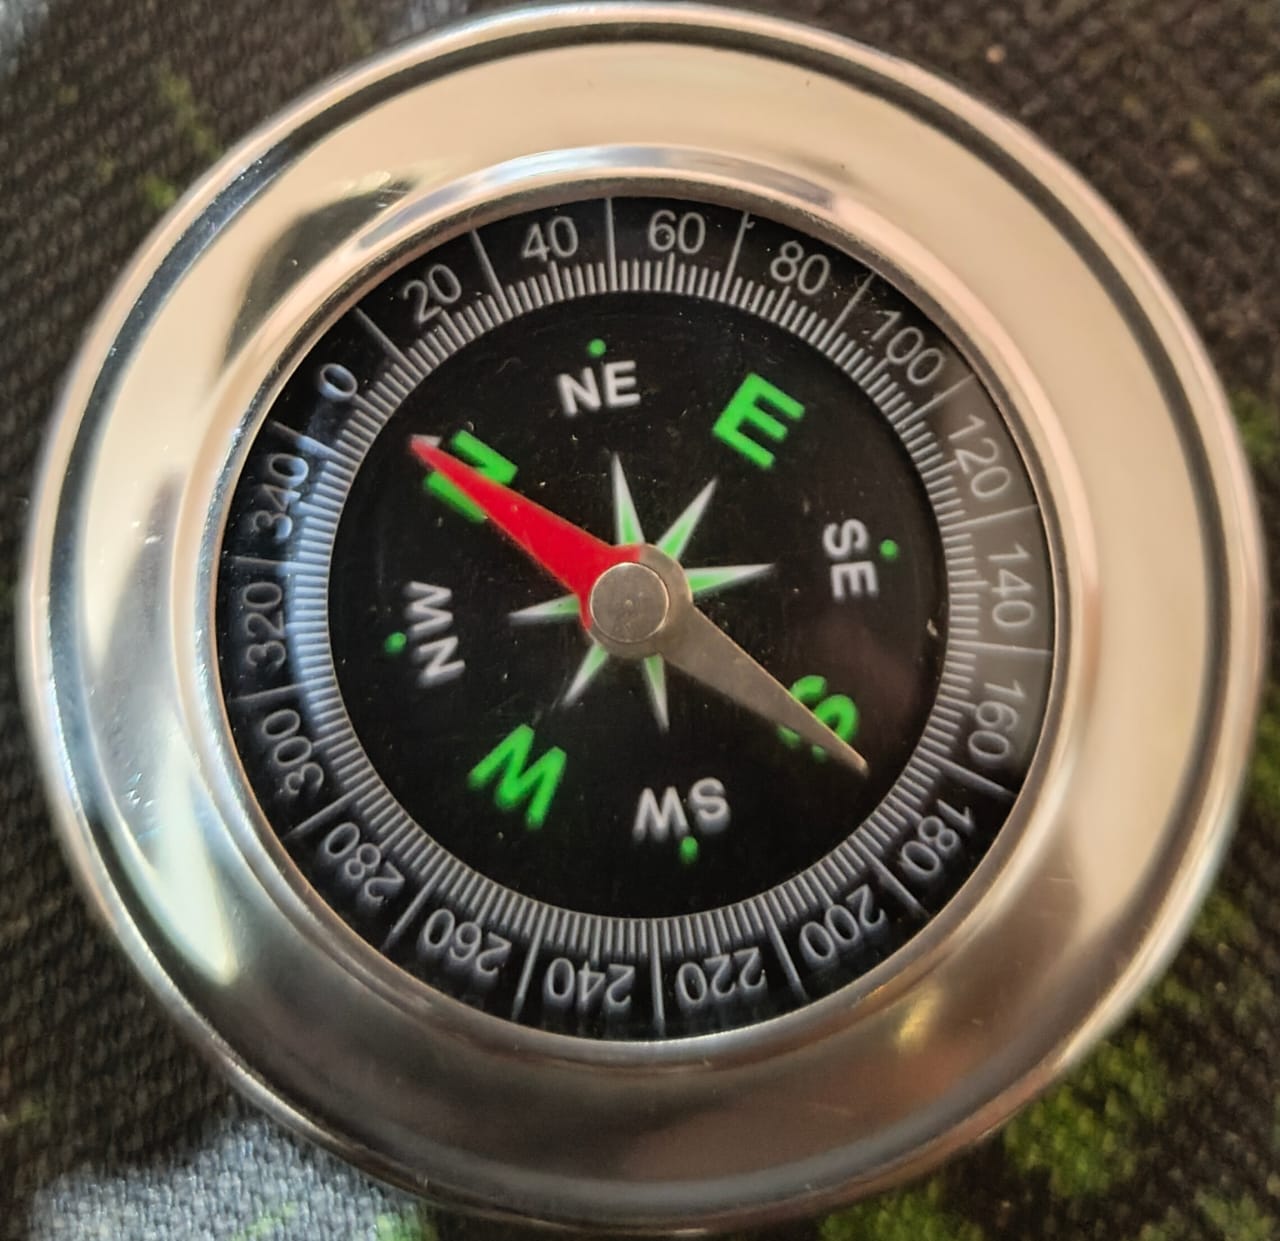
Perfect Compass Technique Demonstrated:
- Step 1: Let the red needle find magnetic North naturally
- Step 2: Rotate the compass housing to align the needle with "N"
- Step 3: Read the bearing - this shows exactly 0° (True North)
- Air-filled compass note: Wait 20+ seconds for needle to settle completely
This demonstrates professional-grade compass technique with a high-quality air-filled compass. The perfect 0° North reading shows proper calibration and accurate navigation capability.
📖 Official Lensatic Compass Handbook
Complete technical manual for the military lensatic compass (Model B170249XQ). Includes detailed instructions, maintenance procedures, and advanced navigation techniques.
2) Map Reading & Triangulation
Orient the map with the compass, then align features.
- Orient the map: Place the compass on the map edge; rotate map and compass together until the needle points to the map’s north (correct for declination).
- Triangulate your position (resection):
- Identify two (ideally three) distant, known landmarks on the map.
- Take a field bearing to each landmark, convert to map back-bearings (±180°), correct for declination.
- Draw the back-bearings on the map. Their intersection is your location.
- Pacing: Measure your steps per 100 m on flat terrain; use it to track distance in the field.
- Handrails & Catch Features: Follow linear features (streams, ridgelines) and use obvious boundaries to prevent overshooting.
2B) Measuring Distance on a Map (Curvimeter / Map Wheel)
Also called an opisometer, a map wheel lets you trace roads/trails and read their length, then convert using the map scale.

Map wheel: roll along the route to measure distance.
- Prepare: Note the map scale (e.g., 1:50,000 → 1 cm = 500 m). If your wheel has adjustable scales, set it to match.
- Zero the wheel: Set the counter to 0 (or mark the starting reading).
- Trace the route: Roll the wheel carefully along the road/river/trail. Keep steady pressure and stay on the line.
- Read & convert:
- If the wheel shows map units (e.g., centimeters), convert with the scale. Example: 12.6 cm at 1:50,000 → 12.6 × 500 m = 6.3 km.
- If the wheel shows direct distance (scale dial), read kilometers/miles directly.
- Accuracy tips: Break long routes into segments; average two passes; avoid pressing too hard; recheck tight corners.
- Alternatives (no wheel):
- String method: Lay thread along the route, straighten, then measure against the scale bar.
- Dividers/compass step-off: Set to a known map distance (e.g., 1 km), walk it along the route counting steps.
- Formula: Real distance = Map distance × scale factor. At 1:25,000 → 1 cm = 250 m; at 1:100,000 → 1 cm = 1 km.
- Note on projection: Over small areas most maps are fine; on very large distances, projections can distort measurements.
4) Common Errors & Safety
- Keep the compass level; avoid metal objects, phones, and knives near the needle.
- Account for declination every time you convert between field and map bearings.
- Use distant aiming points and frequent checks to avoid drift in low visibility.
- Always carry a backup: spare compass, whistle, headlamp, paper maps in a dry bag.
5) Quick Reference (Printable)
- True = Magnetic + E (or − W). Cairo ~ +3°E (verify current data).
- Triangulation: two back-bearings (±180°) → intersection = your position.
- Shadow-stick: first mark (W), second mark (E) → face north with W left, E right.
- Night: Big Dipper bowl edge → 5× to Polaris (north).